Introduction
Making candles with your kids is a fun and creative activity that the whole family can enjoy together. Not only is candle-making a great way to bond with your children, but it also teaches them valuable skills like following instructions, measuring ingredients, and exercising patience. Plus, the finished candles make beautiful decorations for your home or thoughtful gifts for friends and family.
Gather Your Supplies
Before you start your candle-making adventure, you'll need to gather a few essential supplies:
- Wax (soy wax or beeswax work well)
- Wicks
- Candle molds or jars
- A double boiler or a heatproof bowl and a saucepan
- Essential oils or fragrance oils (optional)
- Colorants like crayons or candle dye (optional)
- Scissors
- Pencils or chopsticks
- A thermometer
Make sure to choose supplies that are safe and appropriate for children to use under adult supervision. Soy wax and beeswax are non-toxic and burn cleanly.
Prepare Your Workspace
Candle-making can get a bit messy, so it's important to prepare your workspace before you begin. Cover your work surface with newspaper or a disposable tablecloth to protect it from drips and spills. Set out all of your supplies within easy reach.
If you're using essential oils or fragrance oils, keep them away from curious little hands and noses. These concentrated oils can be irritating to sensitive skin and mucous membranes.
Melt the Wax
Using a double boiler or a heatproof bowl set over a saucepan of simmering water, melt your wax until it's fully liquefied. Stir occasionally with a metal spoon or chopstick to help the wax melt evenly.
If you're using a thermometer, aim for a temperature between 160-180°F (71-82°C). Be careful not to let the wax get too hot, as it can become flammable at high temperatures.
Add Fragrance and Color (Optional)
Once your wax is melted, you can add fragrance oils or essential oils if desired. A good rule of thumb is to use about 1 oz. (30 ml) of fragrance per pound (454 g) of wax, but you can adjust this according to your preferences.
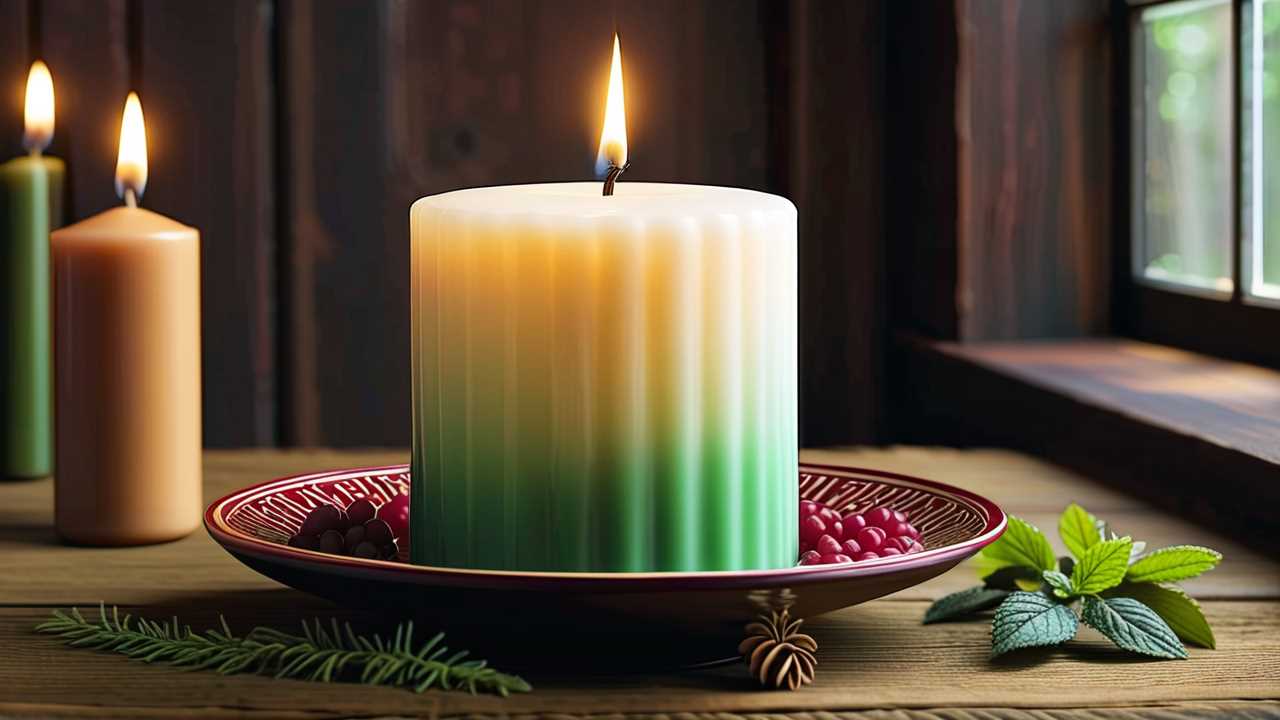
If you want to color your candles, you can add bits of crayon or candle dye at this stage. Start with a small amount and add more until you achieve your desired shade.
Prepare Your Molds
While your wax is melting, prepare your candle molds or jars. If you're using molds, make sure they're clean and dry. If you're using jars, wash them thoroughly with soap and water and let them dry completely.
Thread your wicks through the holes in the bottom of your molds or tie them to pencils or chopsticks laid across the tops of your jars. Make sure the wicks are centered and straight.
Pour the Wax
Carefully pour the melted wax into your prepared molds or jars, leaving about 1/2 inch (1.3 cm) of space at the top. Hold the wick centered and taut as you pour to keep it straight.
Let the candles cool and harden completely before removing them from the molds or trimming the wicks. This can take several hours or overnight, so be patient!
Trim the Wicks and Enjoy!
Once your candles are fully hardened, trim the wicks to about 1/4 inch (6 mm) long. Your beautiful handmade candles are now ready to use or give as gifts!
Candle-making is a wonderful way to spend quality time with your kids while creating something useful and beautiful. Not only is it a fun family craft and DIY project, but it also teaches important lessons about parenting and working together. So gather your supplies, get creative, and enjoy the special bonding experience of making candles with your children.
 Family Craft ProjectsHome ImprovementCooking and BakingReuse and RecycleDIY GiftsEco-Friendly ProjectsDIY Home SolutionsSeasonal ActivitiesFun and GamesLearn TogetherPrivacy PolicyTerms And Conditions