Introduction
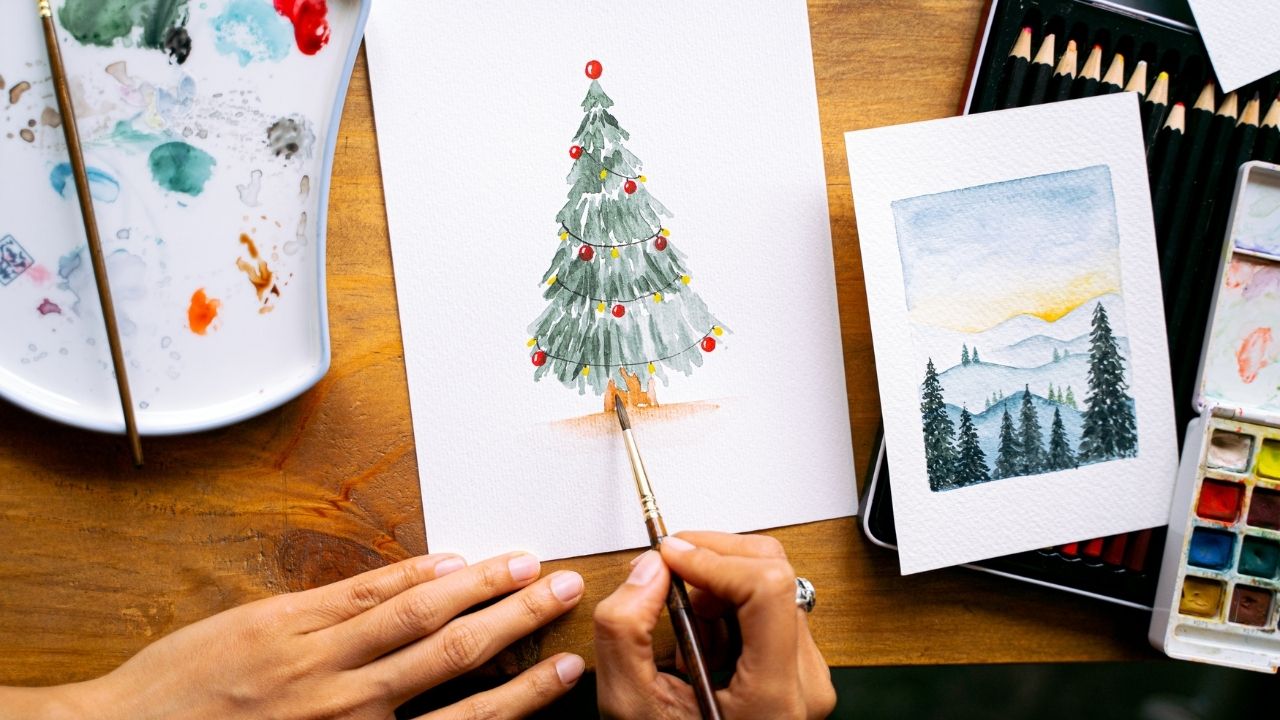
Creating handmade greeting cards is a wonderful way to express your creativity and show your loved ones how much you care. With a few simple supplies and techniques, you can craft beautiful, personalized cards that will be treasured for years to come. In this article, we will guide you through the process of making your own unique greeting cards, from choosing materials to adding the final touches.
Gathering Your Supplies
Before you begin crafting your handmade greeting cards, it's essential to gather all the necessary supplies. Some basic materials you'll need include:
- Cardstock or heavy paper for the base of your card
- Patterned paper or scrapbook paper for decorative elements
- Scissors or a paper trimmer for cutting your materials
- Adhesives such as glue, double-sided tape, or a glue stick
- Embellishments like ribbons, stickers, or die-cuts to add visual interest
Feel free to experiment with different materials and tools to create a style that reflects your unique personality.
Designing Your Card
Once you have your supplies ready, it's time to plan your card design. Consider the occasion for which you're creating the card, such as a birthday, wedding, or holiday. Choose a color scheme and theme that fits the event and the recipient's preferences. Sketch out your design ideas on a piece of scrap paper to help visualize the layout and composition of your card.
Creating the Card Base
To create the base of your greeting card, follow these steps:
1. Cut your cardstock or heavy paper to the desired size, typically an 8.5" x 11" sheet folded in half to create a 5.5" x 4.25" card.
2. Score the center of the cardstock using a bone folder or the back of a butter knife to create a clean, crisp fold.
3. Fold the cardstock in half, using the scored line as a guide, and press firmly along the fold to create a sharp crease.
Your card base is now ready for decorating.
Adding Decorative Elements
Now comes the fun part – embellishing your card with decorative elements. Consider using the following techniques:
- Layering patterned paper or cardstock to create depth and visual interest
- Stamping images or sentiments using rubber stamps and ink pads
- Die-cutting shapes or designs using manual or electronic die-cutting machines
- Embellishing with ribbons, buttons, or other decorative elements to add texture and dimension
Arrange your decorative elements on the card front, experimenting with different layouts until you find a design that you love.
Creating a Heartfelt Message
No greeting card is complete without a thoughtful, heartfelt message inside. Consider the occasion and your relationship with the recipient when crafting your message. Write a draft of your message on a separate piece of paper, then transfer it to the inside of your card using your best handwriting or by printing it out and adhering it to the card.
Finishing Touches
Before considering your handmade greeting card complete, add a few finishing touches to make it extra special:
- Rounded corners using a corner punch for a polished look
- Envelope decorations such as a custom liner or a stamped design on the front
- A custom card box or packaging to present your card in a professional manner
Conclusion
Creating handmade greeting cards is a rewarding and enjoyable craft that allows you to express your creativity and show your loved ones how much you care. By following these steps and experimenting with different techniques and materials, you'll be able to create beautiful, one-of-a-kind cards that will be cherished by all who receive them. Happy crafting!
 Family Craft ProjectsHome ImprovementCooking and BakingReuse and RecycleDIY GiftsEco-Friendly ProjectsDIY Home SolutionsSeasonal ActivitiesFun and GamesLearn TogetherPrivacy PolicyTerms And Conditions
