Introduction
Making your own candles at home can be a fun and rewarding experience. Not only do you get to customize your candles with your favorite scents and colors, but you also have the satisfaction of knowing that you created something beautiful with your own hands. In this article, we will guide you through the process of making your own DIY candles at home, from selecting the right materials to adding your personal touch.
Gathering Your Materials
Before you start making your candles, you'll need to gather your materials. The essential items you'll need include:
1. Wax: You can use various types of wax, such as soy, beeswax, or paraffin. Soy wax is a popular choice due to its eco-friendliness and ease of use.
2. Wicks: Choose wicks that are appropriate for the size of your candle containers. Pre-waxed wicks with metal tabs are the easiest to work with.
3. Candle containers: You can use a variety of containers, such as mason jars, teacups, or even recycled glass jars. Just make sure they are heat-resistant and have a flat bottom.
4. Fragrance oils or essential oils: Adding scent to your candles is optional, but it can make them more enjoyable. Use fragrance oils specifically designed for candle-making or natural essential oils.
5. Double boiler or a microwave-safe bowl: You'll need a way to melt your wax safely. A double boiler or a microwave-safe bowl will do the trick.
6. Thermometer: A thermometer will help you ensure that your wax is at the right temperature for pouring and adding fragrance.
Preparing Your Candle Containers
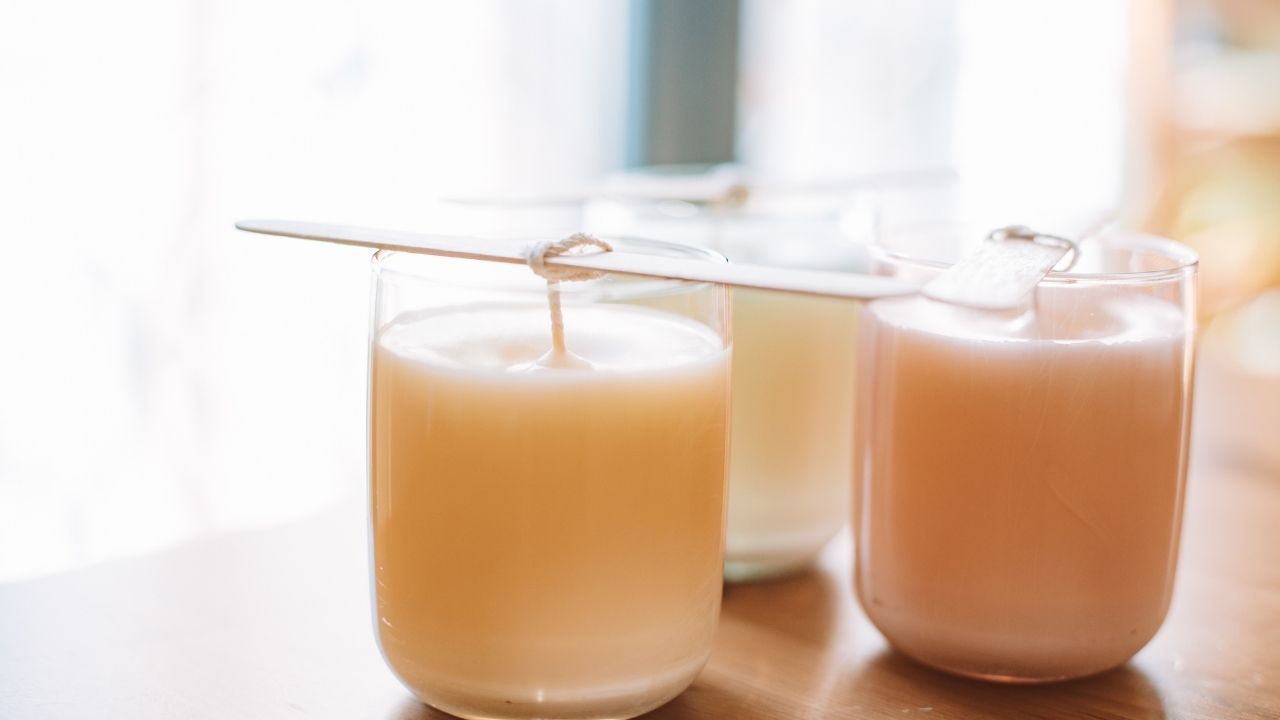
Before melting your wax, prepare your candle containers by placing the wicks in the center of each container. If you're using pre-waxed wicks with metal tabs, you can simply stick the tab to the bottom of the container. If you're using plain wicks, you may need to use a small amount of melted wax to adhere the wick to the bottom of the container.
Melting the Wax
Next, it's time to melt your wax. If you're using a double boiler, fill the bottom pot with water and place the wax in the top pot. Heat the water until the wax has melted completely, stirring occasionally. If you're using a microwave-safe bowl, place the wax in the bowl and microwave it in 30-second intervals, stirring between each interval, until the wax has melted completely.
Adding Fragrance and Color
Once your wax has melted, it's time to add your fragrance and color, if desired. If you're using fragrance oils, add them to the melted wax and stir gently to incorporate. The amount of fragrance oil you use will depend on the strength of the scent and your personal preference, but a general rule of thumb is to use 1 ounce of fragrance oil per 1 pound of wax.
If you want to add color to your candles, you can use candle dye or crayons. Add a small amount of dye or crayon shavings to the melted wax and stir until the color is evenly distributed.
Pouring the Wax
Once your wax is melted and fragranced, it's time to pour it into your prepared candle containers. Carefully pour the wax into each container, leaving about 1/4 inch of space at the top. Make sure the wicks remain centered as you pour.
Allowing the Candles to Cool
After pouring the wax, allow your candles to cool completely at room temperature. This can take several hours, so be patient. As the wax cools, you may notice a slight sinking in the center of the candle. This is normal and can be fixed by topping off the candle with a small amount of melted wax once it has cooled completely.
Trimming the Wicks
Once your candles have cooled completely, trim the wicks to about 1/4 inch in length. This will help prevent the candles from smoking when you burn them.
Enjoying Your Homemade Candles
Congratulations! You've successfully made your own DIY candles at home. Light them up and enjoy the warm, cozy glow and the pleasant scent of your creation. Remember to always burn your candles on a heat-resistant surface and never leave them unattended.
Conclusion
Making your own candles at home is a fun and rewarding project that allows you to customize your candles to your liking. With a few simple materials and some patience, you can create beautiful, fragrant candles that will add warmth and ambiance to your home. So why not give it a try and see what you can create?
 Family Craft ProjectsHome ImprovementCooking and BakingReuse and RecycleDIY GiftsEco-Friendly ProjectsDIY Home SolutionsSeasonal ActivitiesFun and GamesLearn TogetherPrivacy PolicyTerms And Conditions